Leaving your dog at home in the United States can spark worries about their safety and comfort, especially for tech-savvy pet owners who demand more than basic surveillance. With smart pet cameras now offering advanced features and robust security options, choosing a device that meets strict certification standards is crucial for protecting your data and gaining peace of mind. This guide spotlights ONVIF conformance testing and key smart camera features that simplify reliable selection and ensure your dog’s well-being when you’re away.
Table of Contents
- Step 1: Select Approved Smart Pet Camera Models
- Step 2: Install Device And Configure Secure Network Settings
- Step 3: Enable Encrypted Access And User Authentication
- Step 4: Set Up Real-Time Alerts And Monitoring Preferences
- Step 5: Test Camera Feed Security And Device Stability
Quick Summary
| Key Point | Explanation |
|---|---|
| 1. Select ONVIF-certified models | Choose pet cameras that have passed ONVIF testing for reliable performance and security compliance. |
| 2. Configure secure network settings | Set up your camera on a separate network with strong passwords and encryption to protect against unauthorized access. |
| 3. Enable encryption and user authentication | Activate certificate-based authentication and two-factor authentication for enhanced security and access control. |
| 4. Set up real-time alerts | Configure motion detection settings to receive immediate notifications about significant activity involving your pet. |
| 5. Test device and feed security | Conduct a thorough security test by accessing your camera from various networks to ensure reliability and functionality. |
Step 1: Select approved smart pet camera models
Your first priority is finding pet cameras that meet recognized security and interoperability standards. Not all pet cameras are created equal, and selecting models with proper certifications ensures your device will work reliably in your home while protecting your data. Look for cameras that have passed ONVIF conformance testing, which verifies that devices adhere to established security protocols and can integrate seamlessly with other smart home systems. This step matters because you’re investing in a device that sits in your home 24/7, monitoring your dog and connecting to your home network.
Start by checking manufacturer websites and product listings to confirm whether specific models carry ONVIF certification. Major pet camera brands often list their compliance credentials prominently, though you may need to dig into technical specifications. You can also cross-reference directly with the ONVIF database, which maintains an authoritative list of conformant products with verified firmware versions. When researching, pay attention to the specific firmware version listed, since different versions of the same camera model may have different certification statuses. Beyond ONVIF compliance, consider exploring pet camera features like video resolution, night vision capabilities, and two-way audio to understand what capabilities matter most for monitoring your dog. This helps you narrow down your options before making a purchase decision.
As you compare models, create a simple spreadsheet listing each camera option with its key certifications, supported features, and price point. This organized approach prevents decision fatigue and helps you spot patterns across models. Pay special attention to any cameras marketed specifically for pet monitoring, as these often include features designed for pet behavior rather than generic security surveillance.
Below is a summary of essential smart pet camera features and their practical monitoring impact:
| Feature | Practical Benefit | Use Case Example |
|---|---|---|
| Two-way Audio | Allows remote interaction with pets | Comforting pets when away |
| Activity Zones | Reduces false motion alerts | Focus alerts on key areas |
| Night Vision | Enables monitoring in low light | See pets after dark |
| Cloud Storage Option | Secures video backups remotely | Review activity while traveling |
Pro tip: Check the camera manufacturer’s support page for firmware update frequency and longevity information, as actively maintained models with regular security updates provide better long-term protection for your home network than discontinued products.
Here’s a useful comparison of common pet camera certifications and what each means for your home’s security:
| Certification Type | What It Covers | Security Benefit | Interoperability Impact |
|---|---|---|---|
| ONVIF Conformance | Security protocols, standards | Ensures encrypted communications | Works with smart home systems |
| Firmware Validation | Updates, version control | Protects against vulnerabilities | Maintains device compatibility |
| Manufacturer Updates | Support and bug fixes | Minimizes risks from outdated tech | Extends device lifetime |
Step 2: Install device and configure secure network settings
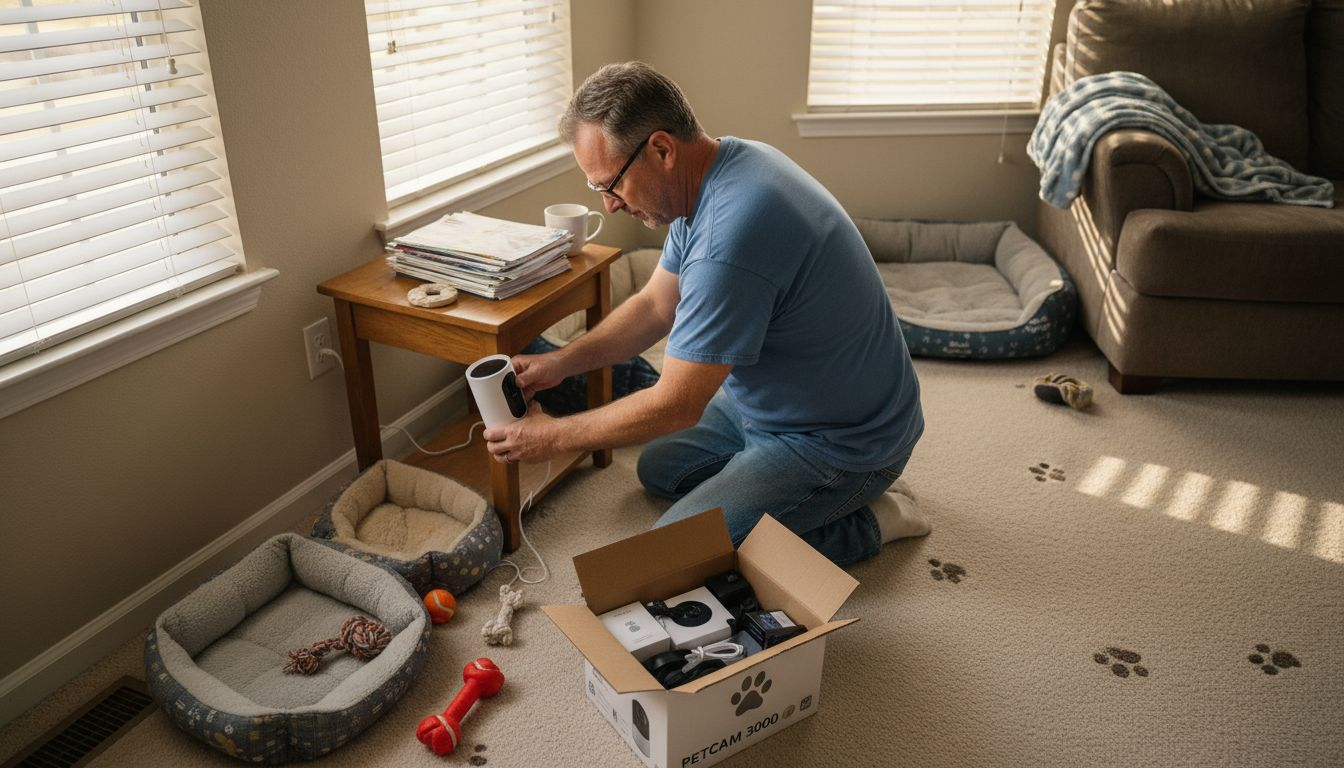
Now that you’ve selected an approved camera model, it’s time to get it physically set up and connected to your home network safely. This step is where security becomes real, because your pet camera will be transmitting video footage through your Wi-Fi network, and you need to protect both the device and your home from unauthorized access. Taking the time to configure your network properly prevents hackers from intercepting video feeds or using your camera as an entry point into your home network.
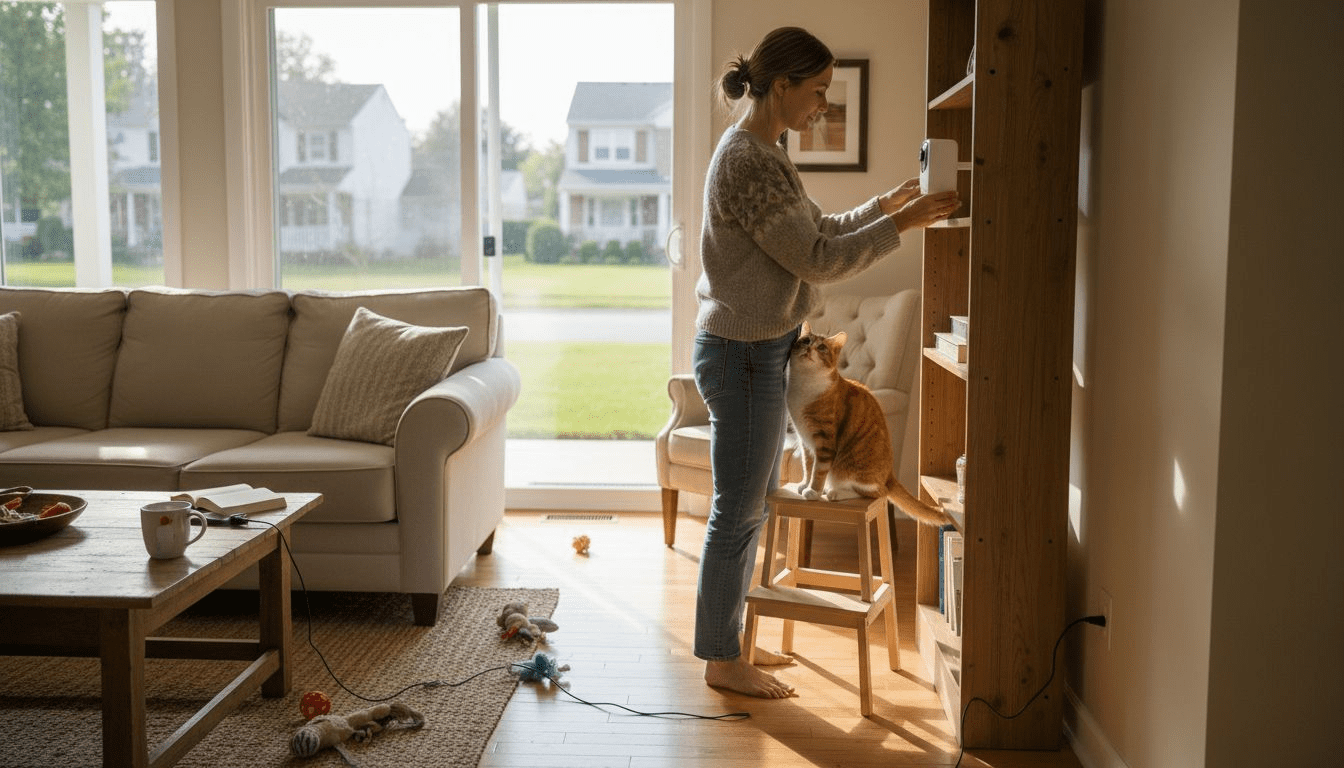
Start by physically installing your pet camera in the location where you want to monitor your dog. Most pet cameras mount on shelves, walls, or sit on tables, so choose a spot with a clear view of where your dog spends most of their time. Once positioned, connect the camera to power and download the manufacturer’s app to begin the setup process. When connecting to your Wi-Fi network, create a separate network name or use a guest network specifically for your smart devices rather than mixing them with computers and phones. Then establish strong, complex passwords for both your Wi-Fi network and the camera’s app account, using a mix of uppercase letters, numbers, and symbols. Change your router’s default SSID and login credentials as well, since manufacturers often use the same defaults across thousands of devices, making them vulnerable targets. Enable your router’s encryption protocols (WPA3 is ideal, WPA2 is acceptable) to scramble data traveling between your camera and your network. If your router supports it, enable MAC address filtering to allow only your camera and approved devices to connect.
After completing these initial configurations, test the camera by viewing the live feed through your phone app from a different network or location to confirm everything works properly. Take a moment to explore the camera’s privacy settings and disable any features you don’t need, such as cloud storage services you won’t use or analytics tracking. This reduces the amount of data leaving your home.
Pro tip: Write down your new Wi-Fi password and camera login credentials in a secure password manager rather than relying on memory, then store this information separately from where your router sits, so you can easily troubleshoot without starting from scratch if something goes wrong.
Step 3: Enable encrypted access and user authentication
With your camera connected to your network, the next critical layer of protection is enabling encryption and authentication methods that prevent unauthorized people from accessing your camera or viewing your dog. This step transforms your camera from simply being on your network to being actively defended against intruders who might try to guess passwords or intercept your video feed. Strong authentication ensures that only you and people you explicitly authorize can see what your camera is recording.
Start by accessing your pet camera’s settings through the app and locating the security or authentication options. Most manufacturers now offer multiple authentication methods, and you should enable the strongest option available. Look for certificate-based authentication, which uses digital certificates to verify that your camera and app are communicating securely rather than relying solely on passwords. If your camera supports it, enable two-factor authentication, which requires you to verify your login through a second method like your phone or email after entering your password. This makes it nearly impossible for someone to access your account even if they somehow obtain your password. Check whether your camera app offers passkey technology, which replaces traditional passwords with biometric verification like your fingerprint or face recognition, eliminating phishing vulnerabilities that come with password-based systems. When you add additional family members or pet sitters to your camera account, assign them the minimum access level they need. A pet sitter, for example, might only need to view the camera feed, not change settings or delete recordings.
Once you’ve enabled these security features, test them by logging out completely and logging back in to confirm everything works as expected. Many people skip this step and later discover authentication problems during emergencies when they’re away from home. Take time to verify that your encrypted connection is active by looking for security indicators in the app, such as a lock icon or “secure connection” notification.
Pro tip: Enable notifications for any login attempts to your camera account so you’re immediately alerted if someone tries unauthorized access, giving you time to change your credentials or contact the manufacturer if suspicious activity occurs.
Step 4: Set up real-time alerts and monitoring preferences
Now that your camera is secure, it’s time to configure alerts and monitoring settings so you actually know when something important happens at home. Without proper alert configuration, your camera becomes just a passive recording device sitting in your living room. Real-time alerts transform your pet camera into an active security tool that notifies you the moment motion is detected or unusual activity occurs, giving you the ability to respond quickly.
Begin by opening your camera app and finding the alerts or notifications settings. Most pet cameras offer motion detection as the primary alert trigger, so enable this feature and set the sensitivity level appropriately. If sensitivity is too high, you’ll receive constant notifications every time your dog moves or a shadow passes by your window. If it’s too low, you’ll miss actual incidents. Start with medium sensitivity and adjust based on the alerts you receive over the first few days. Many cameras let you create activity zones, which means you can tell the camera to only alert on motion in specific areas of your room rather than monitoring the entire frame. This reduces false alarms significantly. Consider enabling real-time alerts triggered by motion detection so notifications arrive instantly on your phone rather than being delayed. Next, decide which notification methods you prefer. Most cameras support push notifications through their app, but some also offer email alerts or SMS text messages. Having multiple notification channels ensures you won’t miss alerts even if you’re not actively using your phone. Set time-based preferences so you receive alerts only during hours when you’re away from home, reducing unnecessary notifications while you’re already there watching your dog.
Take time to explore advanced features your camera might offer. Some models allow you to customize alert types (sound only, video clip, still image) or set quiet hours when alerts are muted but activity is still recorded. Test your alert system by triggering motion detection and confirming you receive notifications on all enabled devices. This verification step prevents discovering alert problems after you’ve already left home.
Pro tip: Create a separate smartphone app folder or notification channel for your pet camera alerts so they stand out from other notifications, making it easier to spot urgent alerts about your dog when your phone is buzzing with messages from work and social media.
Step 5: Test camera feed security and device stability
Before you rely on your pet camera for daily monitoring, you need to verify that both your security configuration is working properly and your device maintains stable performance over time. Testing catches problems while you’re still home and can troubleshoot them, rather than discovering issues when you’re already away from your dog. This step gives you confidence that your camera will perform reliably when it matters most.
Begin by conducting a comprehensive security test of your camera feed. Open your camera app from different devices and networks to confirm that only authorized accounts can access the video. Try logging in with incorrect passwords to verify that your authentication is actually blocking unauthorized access attempts. Access your camera from your phone’s cellular data instead of Wi-Fi to confirm remote access works from outside your home network. Leave your camera running for at least 24 hours continuously and monitor whether the video feed remains clear and responsive throughout that period. Check that the app doesn’t crash, that your connection doesn’t drop unexpectedly, and that video quality stays consistent. During this test, pay attention to any lag between live events and what you see on your screen, as excessive delay would prevent you from responding quickly to problems. Verify that recordings are being saved properly and that you can access footage from earlier in the day without issues. Test your two-way audio feature if you have one by speaking through the camera and confirming that sound transmits clearly. Review security and stability specifications that ensure your device maintains secure operations and reliable streaming performance. Check your camera’s local storage and cloud backup to ensure your recordings are being saved where you expect them.
After running these tests, check your router and camera logs for any error messages or security warnings that might indicate problems. Restart your camera and your router to ensure they both work smoothly after a power cycle, which simulates how they would behave during a power outage. Monitor battery drain if your camera is wireless to confirm it meets the manufacturer’s specifications. This comprehensive testing prevents you from discovering critical problems after your camera becomes your primary way to monitor your dog.
Pro tip: Document your test results including video quality observations, latency measurements, and any issues encountered, then repeat this same test quarterly to catch performance degradation before it becomes a serious problem.
Enhance Your Home Monitoring with Trusted Pet Camera Insights
Securing your pet camera setup is essential to protecting your furry friend and home. This article highlights key challenges such as selecting ONVIF certified devices, configuring encrypted access, and managing real-time alerts to keep your pet safe and your privacy intact. If you want to avoid common pitfalls like weak passwords or unreliable alerts, getting the right information is critical. At ModernPetTech, we offer comprehensive resources that dive deep into pet camera features including video quality, two-way communication, and secure network configurations.
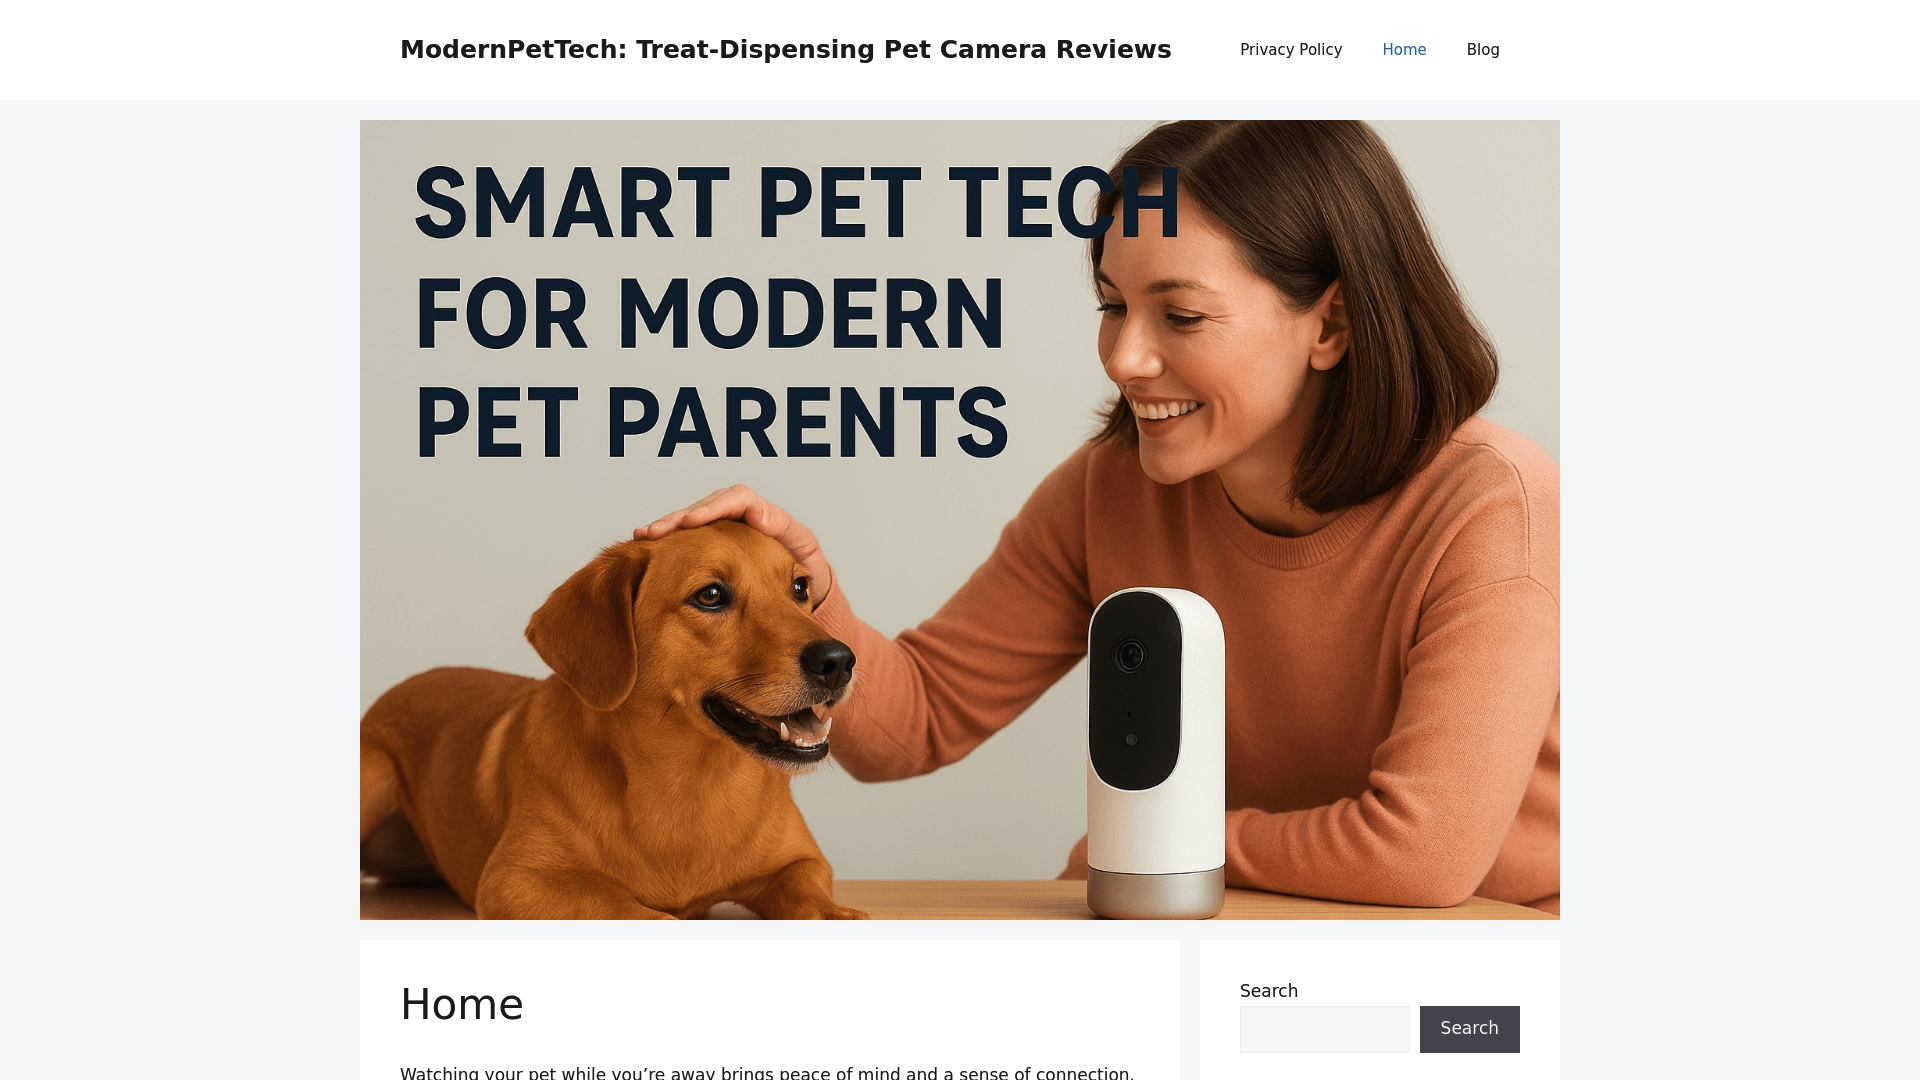
Explore our Pet Cameras category for expert evaluations of top smart pet cameras and discover how to choose one that fits your home’s security needs. If you value step-by-step guidance, our detailed Guides & Comparisons will empower you with the knowledge to make confident decisions. Don’t compromise your pet’s safety or your peace of mind—start your secure pet camera journey now at modernpettech.com and equip yourself with the best tools for smarter home monitoring.
Frequently Asked Questions
What features should I look for in a secure pet camera?
Look for features like ONVIF compliance, two-way audio, night vision, and activity zones. These features help ensure reliable monitoring and minimize false alerts, allowing you to keep a close eye on your pet’s behavior.
How can I secure my pet camera once it’s installed?
To secure your pet camera, change the default login credentials, enable encryption protocols, and set up strong passwords. Use a password manager to keep track of your new credentials and ensure only authorized users can access the camera feed.
What steps can I take to reduce false motion alerts from my pet camera?
Reduce false alerts by properly adjusting the camera’s motion sensitivity and setting up activity zones. Focus the camera on key areas where your pet frequently moves to filter out unnecessary notifications and enhance your monitoring experience.
How do I test my pet camera’s security and performance?
Test your camera’s security by logging in from different devices and confirming that unauthorized access is blocked. Additionally, monitor the video feed for stability and clarity over at least 24 hours to ensure optimal performance.
What is the best way to set up real-time alerts for my pet camera?
Enable motion detection and adjust the sensitivity in your camera’s app settings. Opt for multiple notification methods, such as app alerts and SMS messages, so you are promptly notified of any significant activity when you are away from home.
Recommended
- Role of Cameras in Home Security for Pet Owners
- Pet Camera Security Benefits for Modern Pet Owners
- How to Choose Pet Camera for Safer Remote Monitoring
- 7 Pet Monitoring Best Practices for Tech-Savvy Owners
- 7 Key Advantages of Automatic Pet Feeders for Busy Owners – Pawfect Picks