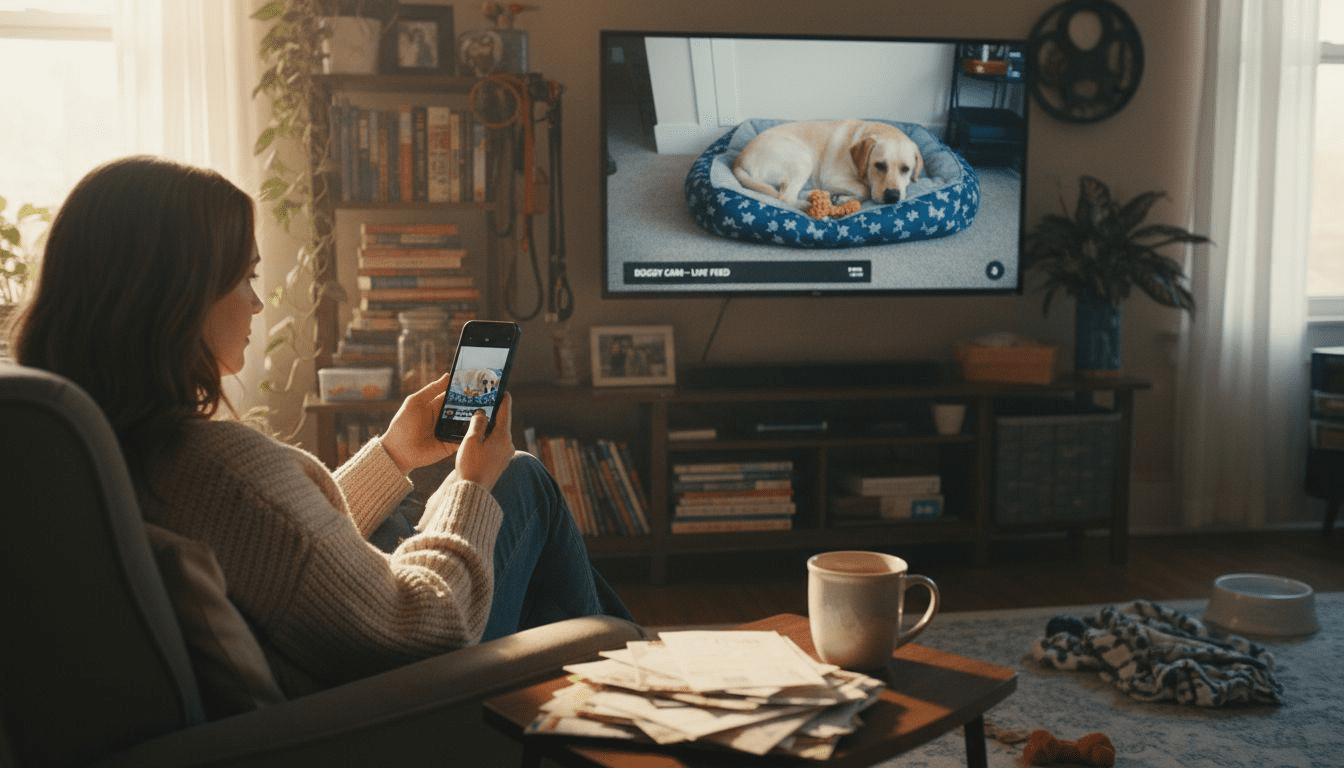
Leaving your pet home alone can bring worry for many tech-savvy American pet owners. Reliable video monitoring offers peace of mind and helps address separation anxiety while also supporting your home security. By focusing on a strong network foundation and robust internet connectivity, you set the stage for seamless remote interaction and consistent updates. In this guide, you will learn how to assess your home’s setup, position cameras effectively, and configure features for the best possible pet monitoring experience.
Table of Contents
- Step 1: Assess Home Setup and Connectivity
- Step 2: Select and Position Your Pet Camera
- Step 3: Configure Monitoring Features and Alerts
- Step 4: Test Real-Time Interaction and Recording
- Step 5: Verify Coverage and Adjust as Needed
Quick Summary
| Key Point | Explanation |
|---|---|
| 1. Ensure Strong Home Connectivity | Check internet speed; minimum 2 Mbps upload for HD video is essential for reliable pet monitoring. |
| 2. Strategically Position Cameras | Place cameras to capture key pet areas while minimizing obstacles like walls and furniture. |
| 3. Customize Monitoring Alerts | Tailor alert settings to your pet’s specific behaviors, reducing unnecessary notifications. |
| 4. Test Real-Time Interaction Features | Verify video streaming and audio quality; ensure two-way communication works effectively. |
| 5. Check Coverage and Adjust | Regularly assess camera coverage and reposition if blind spots are identified in monitoring areas. |
Step 1: Assess Home Setup and Connectivity
Your home network is the critical backbone for effective pet monitoring. Before setting up any remote tracking system, you need to evaluate your current internet infrastructure to ensure smooth video streaming and reliable alerts. Real-time network quality monitoring becomes essential for maintaining uninterrupted pet surveillance.
Start by checking your home internet speed and stability. Run a speed test using online tools to confirm you have sufficient bandwidth most pet monitoring cameras require approximately 2 Mbps upload speed for consistent HD video transmission. Walk through your home and identify potential wifi dead zones where camera signals might weaken. Consider strategic camera placement near robust router connections or invest in wifi extenders to eliminate signal interruptions. IoT-based pet care systems rely heavily on consistent network performance to track your pet’s activities accurately.
Evaluate your home’s physical layout and potential signal obstacles. Thick walls, multiple floors, and large metal appliances can disrupt wireless signals. Position your monitoring devices with these potential interference points in mind. Some modern routers offer dual band capabilities that can help mitigate connectivity challenges.
Pro tip: Purchase a wifi analyzer smartphone app to map your home’s network strength and identify optimal device placement for maximum coverage and reliability.
Here’s a summary of potential home network issues and solutions for pet monitoring:
| Problem Area | Impact on Monitoring | Recommended Solution |
|---|---|---|
| Wifi dead zones | Video dropouts, weak alerts | Use wifi extenders, reposition router |
| Thick walls | Signal interference | Place cameras close to router |
| Large appliances | Blocked wireless signals | Position cameras away from metal |
| Multiple floors | Decreased signal coverage | Employ mesh network system |
Step 2: Select and Position Your Pet Camera
Selecting and positioning the right pet camera is crucial for effective remote monitoring. Your goal is to create a comprehensive view of your pet’s living space that allows you to observe their activities and ensure their safety. Strategic sensor placement becomes key to capturing meaningful insights about your pet’s behavior.
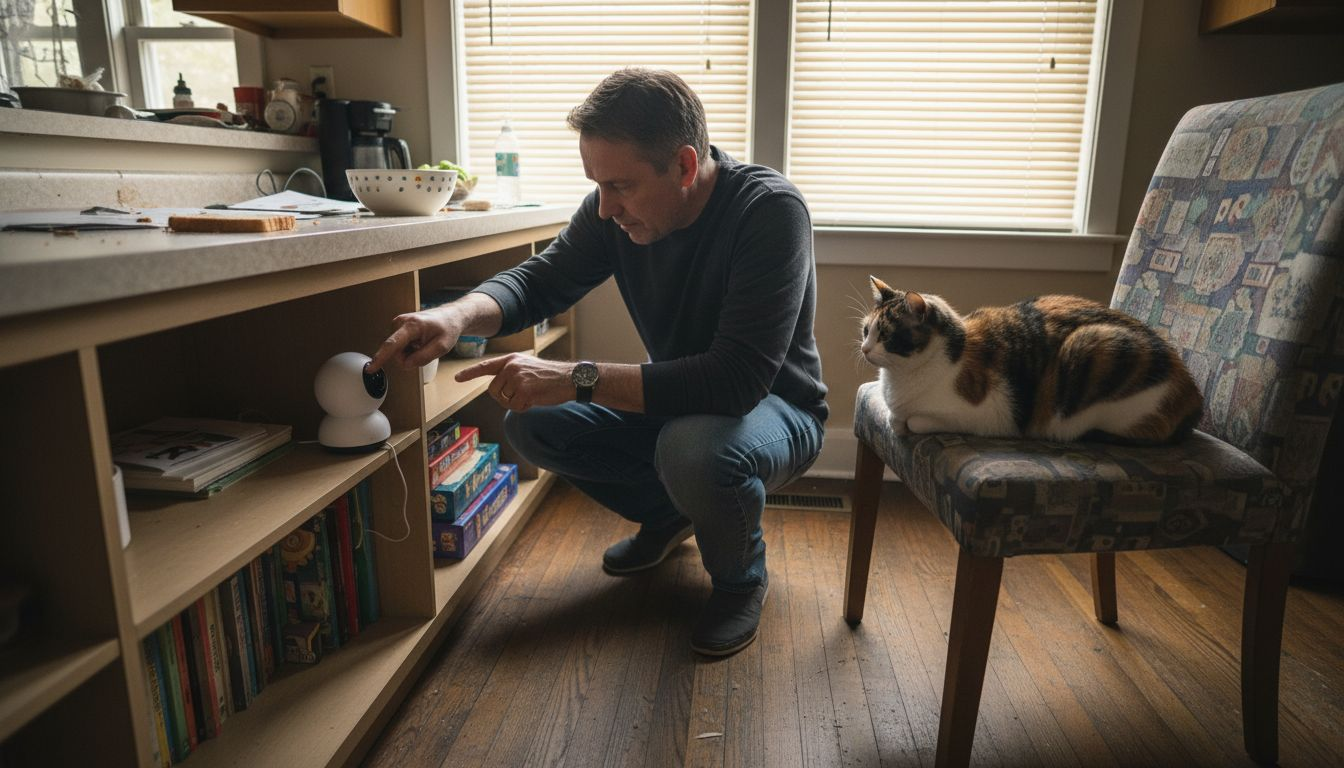
Start by identifying the areas where your pet spends most of their time. Look for spots that provide a clear, unobstructed view of their favorite resting places, play zones, and key movement paths. Pet camera positioning guidelines recommend avoiding locations with harsh backlighting or extreme shadows that could compromise video quality. Consider mounting cameras at a height that provides a wide angle view while remaining out of your pet’s direct reach. Aim for positions that minimize blind spots and capture both floor level and surrounding furniture areas.
Think about your home’s specific layout and your pet’s typical behaviors. Some pets are more active in kitchen areas, while others prefer living rooms or bedrooms. Modern pet cameras often include wide angle lenses and pan tilt zoom capabilities that can help compensate for challenging room configurations. Ensure your camera has a stable mounting option that prevents accidental knockdowns and provides a steady monitoring perspective.
Pro tip: Test your camera’s view by taking a few test photos from the intended mounting location to confirm you have the ideal perspective and coverage of your pet’s activity zones.
Compare different pet camera mounting options based on key factors:
| Mounting Option | Camera Stability | Field of View | Pet Accessibility |
|---|---|---|---|
| Wall mount | Very stable | Wide angle possible | Out of pet’s reach |
| Shelf placement | Moderately stable | May be obstructed | Within pet’s reach |
| Ceiling mount | Most stable | Overhead, covers large area | Completely inaccessible |
| Table top | Least stable | Limited to specific zone | Easily accessible |
Step 3: Configure Monitoring Features and Alerts
Configuring your pet camera’s monitoring features transforms a simple device into a comprehensive pet care system. Your goal is to customize alerts and tracking options that match your specific pet’s behavior and your unique monitoring needs. Real-time monitoring systems offer sophisticated ways to stay connected with your pet throughout the day.
Start by exploring your camera’s alert configuration options. Most modern pet cameras allow you to set motion detection zones, sound sensitivity levels, and specific activity triggers. IoT monitoring algorithms enable advanced tracking that can distinguish between normal pet movements and potentially concerning behaviors. Consider setting up different alert profiles for daytime and nighttime periods, accounting for your pet’s typical routine. Some cameras offer temperature monitoring, which can be crucial for pets with specific health needs or those left in areas with variable environmental conditions.
Take time to fine tune your notification settings to prevent alert fatigue. While you want comprehensive monitoring, receiving constant notifications can become overwhelming. Select specific triggers that truly matter – like unusual sounds, extended periods of inactivity, or your pet approaching restricted areas. Many smart pet cameras now integrate machine learning capabilities that can help refine these alerts over time, becoming more precise in understanding your pet’s unique behavioral patterns.
Pro tip: Test your alert configurations during a day when you can monitor responses, adjusting sensitivity levels to find the perfect balance between comprehensive monitoring and practical usability.
Step 4: Test Real-Time Interaction and Recording
Testing your pet camera’s real-time interaction capabilities ensures you can effectively monitor and communicate with your pet remotely. Remote human interaction systems require careful assessment to guarantee seamless communication and reliable performance. Your goal is to validate the camera’s video streaming, audio quality, and responsiveness before relying on it for daily pet monitoring.
Begin by conducting a comprehensive interaction test during different times of day. IoT pet care monitoring emphasizes the importance of verifying video and audio stability across varying lighting and environmental conditions. Check the two-way audio feature by speaking through the camera and observing your pet’s response. Pay attention to potential lag times, audio clarity, and whether your pet can clearly hear and recognize your voice. Test the recording function by capturing short video clips and reviewing their quality, ensuring they provide clear visibility of your pet’s activities.
Evaluate the camera’s interaction features systematically. Try remotely dispensing treats if your camera has this capability, observing the precision of movement and timing. Test motion tracking features to confirm the camera can smoothly follow your pet’s movements. Check the smartphone app’s responsiveness when switching between live view, recording, and interaction modes. Look for any delays or glitches that might interrupt your ability to connect with your pet effectively.
Pro tip: Schedule your initial tests during a time when you can dedicate uninterrupted attention to troubleshooting, ensuring you understand all of your camera’s interactive features before relying on them for regular monitoring.
Step 5: Verify Coverage and Adjust as Needed
Verifying your pet camera’s coverage is crucial to ensuring comprehensive monitoring of your pet’s environment. Smart home connectivity challenges require systematic verification to eliminate potential blind spots and maintain reliable tracking. Your goal is to create a monitoring setup that provides complete visibility of your pet’s living spaces.
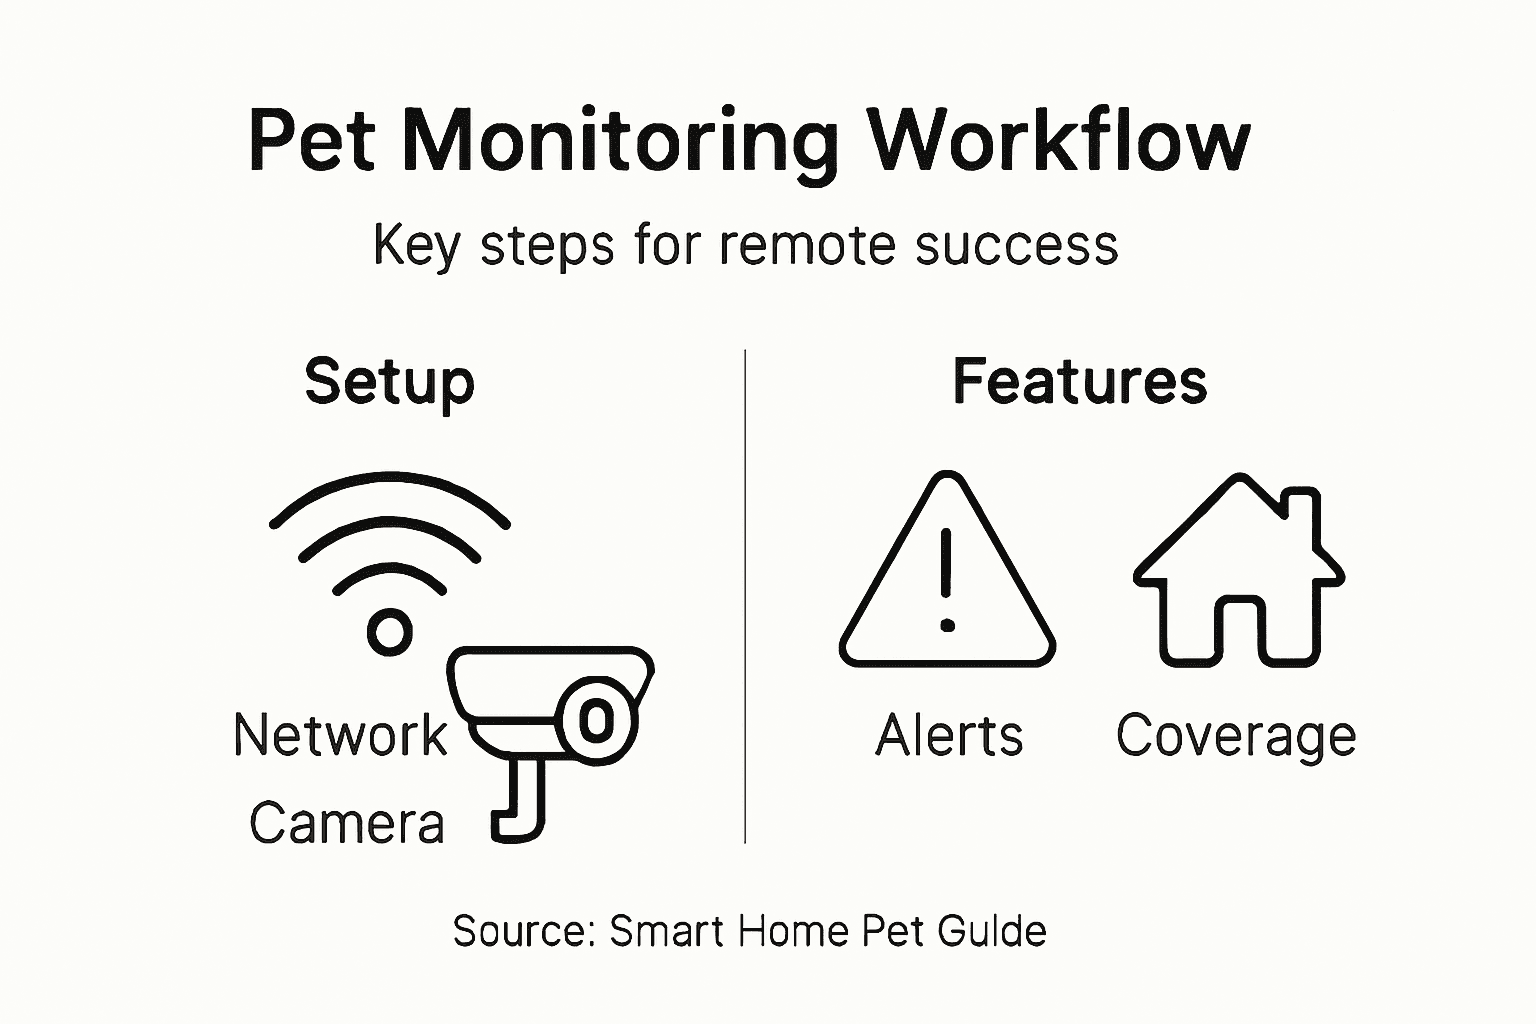
Begin by conducting a thorough walkthrough of your pet’s typical areas. IoT monitoring strategies recommend carefully examining each camera’s field of view and identifying potential coverage gaps. Take time to review recorded footage from different times of day, paying special attention to lighting conditions that might impact video quality. Check for areas where furniture, shadows, or room layout might create monitoring challenges. If you notice significant blind spots, consider adding additional cameras or repositioning your existing devices to ensure more comprehensive coverage.
Systematically test your camera’s network connectivity and performance. Move around the areas you want to monitor and check for signal strength variations. Some smartphones offer wifi analyzer apps that can help you understand network performance in different parts of your home. If you encounter persistent connectivity issues, explore solutions like wifi extenders or mesh network systems that can improve overall signal consistency. Remember that optimal pet monitoring requires not just camera placement but also robust and stable network infrastructure.
Pro tip: Use your smartphone to take test photos from your camera’s perspective to visually confirm the exact areas being monitored and identify any unexpected coverage limitations.
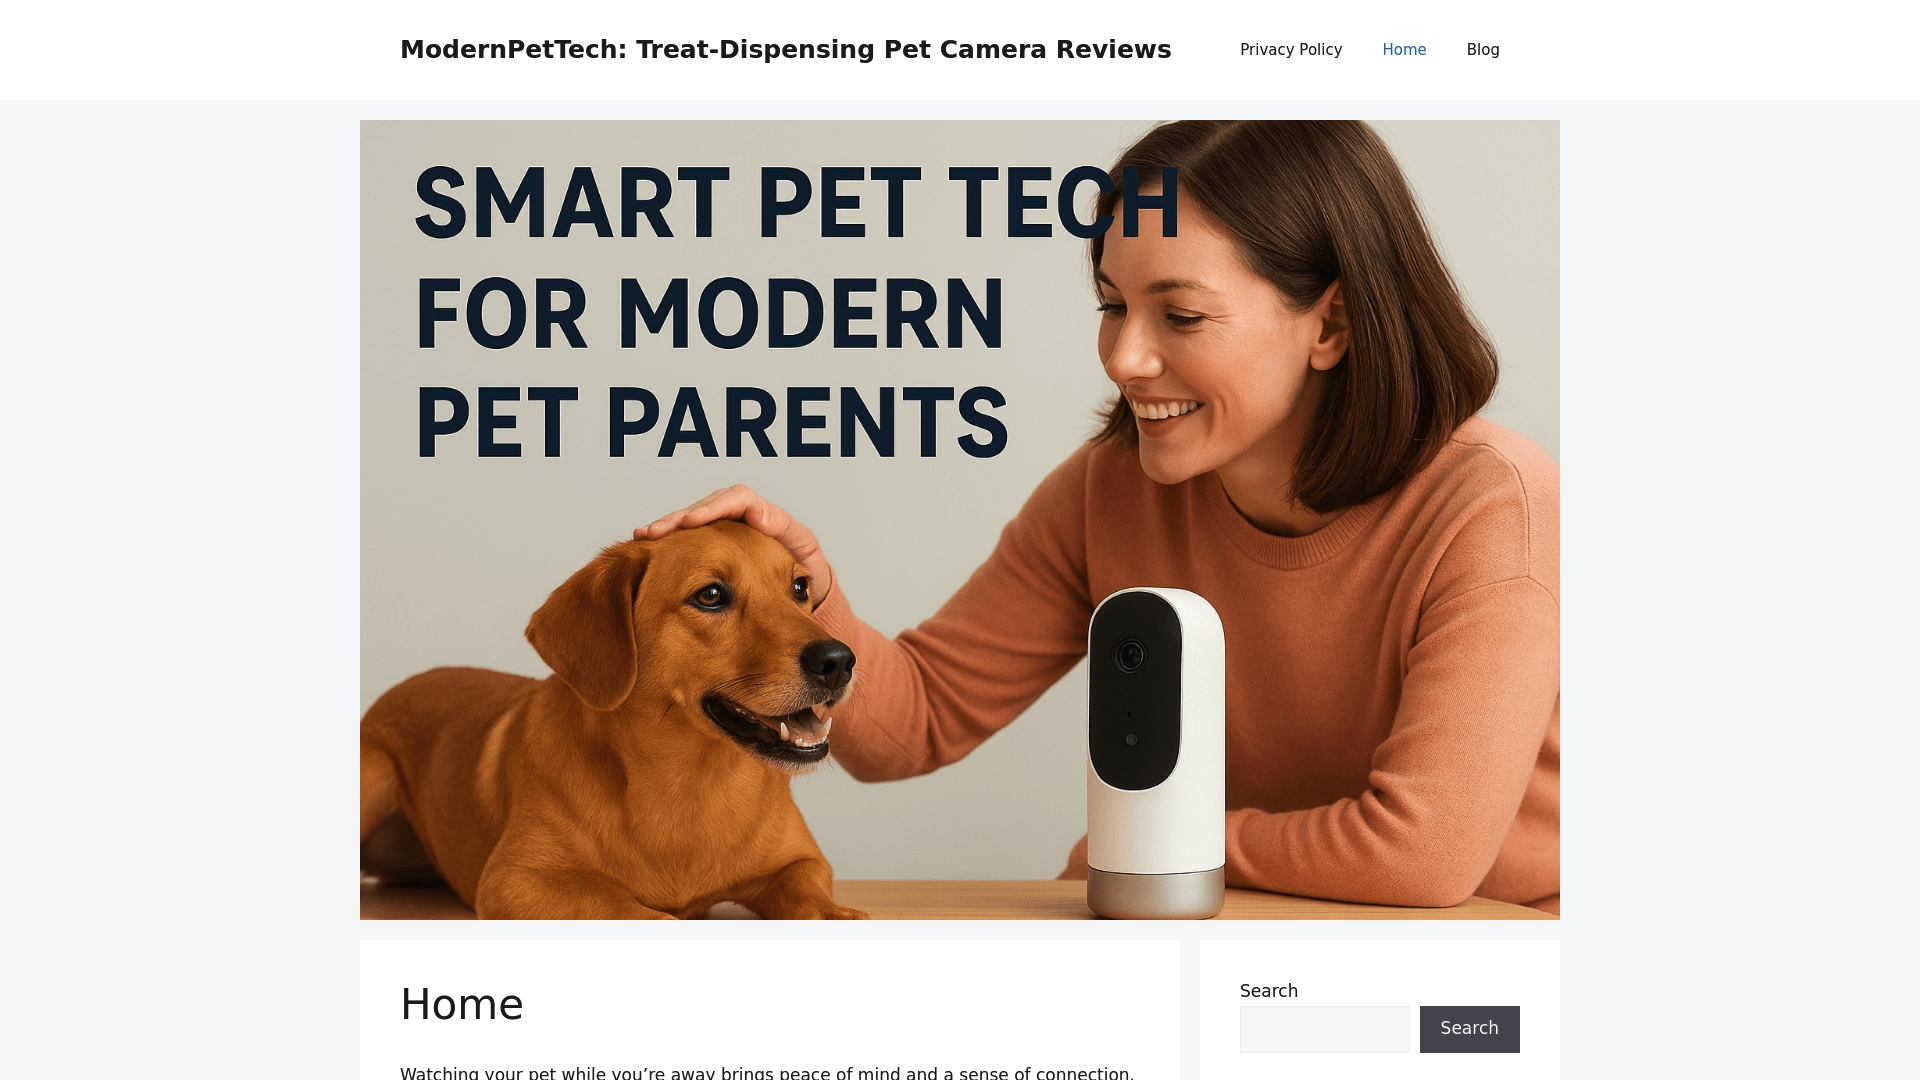
Optimize Your Pet Monitoring Setup with Expert Guidance and Reviews
The article highlights challenges many pet owners face such as ensuring reliable connectivity, strategic camera placement, and configuring smart alerts to effectively monitor pets remotely. These pain points can create frustration and worry especially when you want to reduce separation anxiety and keep your pet safe while away. Terms like “real-time monitoring,” “two-way audio,” and “treat dispensing” show how critical it is to select the right devices and customize them for your home environment.
If you want to master these steps and find the perfect smart pet camera suited to your needs, start with our curated Pet Cameras reviews and comparisons. Our insights help you navigate options for night vision, motion alerts, and interactive features that make remote interaction seamless. Discover how to enhance your pet’s care with technology by exploring our detailed Guides & Comparisons. Take control of your pet’s health and happiness today by visiting ModernPetTech, your trusted source for smart pet monitoring solutions.
Transform your remote pet monitoring experience now. Learn which devices fit your lifestyle and create a setup that brings you peace of mind. Visit us to get started with expert advice and product reviews that empower you to watch, talk, and even treat your pet anytime anywhere.
Frequently Asked Questions
How do I assess my home network for pet monitoring?
To assess your home network, check your internet speed using an online speed test tool. Ensure you have at least 2 Mbps upload speed for reliable HD video and identify wifi dead zones where camera signals may weaken.
What should I consider when positioning my pet camera?
When positioning your pet camera, find areas where your pet spends most of their time and ensure a clear view without obstructions. Aim to mount the camera at a height that provides a wide angle view while avoiding harsh backlighting or shadows.
How can I configure alerts for my pet camera?
You can configure alerts by exploring options for motion detection zones and specific activity triggers in your camera’s settings. Fine-tune these settings to focus on meaningful alerts, such as unusual sounds or extended inactivity, to avoid notification overload.
How do I test my pet camera’s real-time interaction features?
To test your pet camera’s real-time interaction features, conduct a series of tests at different times of day. Check the quality of video, audio, and responsiveness by using features like two-way audio and remote treat dispensing while observing your pet’s interaction.
What should I do if I notice blind spots in my pet camera’s coverage?
If you notice blind spots, review your camera’s field of view and consider re-positioning the camera or adding additional cameras in those areas. Ensure that you regularly test the coverage during different times of the day to confirm adequate visibility and refine your monitoring setup.
Recommended
- Why Use Pet Monitoring – Enhancing Pet Wellbeing Remotely
- Pet Camera Setup Basics: Enhancing Remote Pet Care
- 7 Pet Monitoring Best Practices for Tech-Savvy Owners
- Benefits of Pet Cameras: Safer, Happier Pets at Home
- How to Prepare Portrait Photos for Custom Pet Art – The Family Portrait Companys
4 thoughts on “Pet Monitoring Workflow for Effective Remote Interaction”