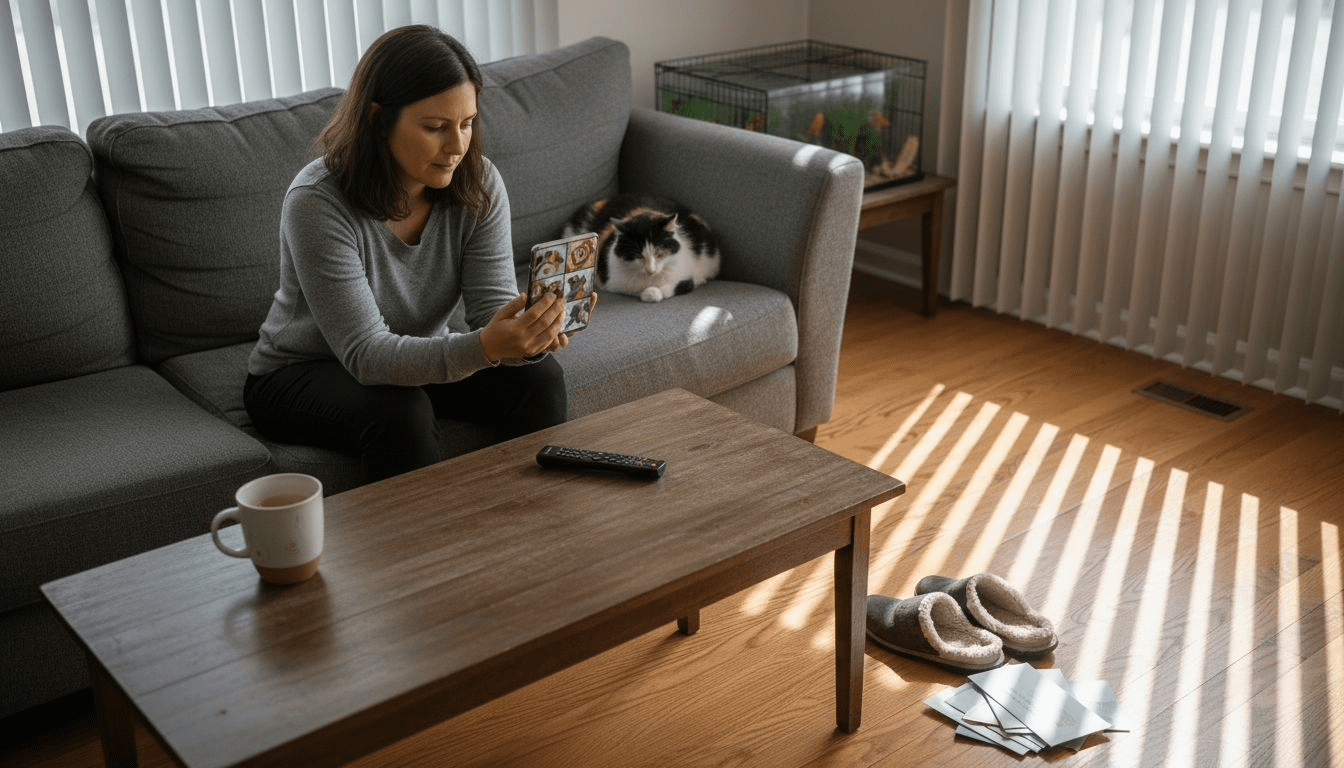
Leaving a pet alone in your American home can be stressful for both of you, especially if anxiety kicks in once the door closes. As technology evolves, smart devices like cameras and treat dispensers offer more than basic check-ins—they provide genuine peace of mind and active support. This guide highlights how to match advanced monitoring features with your unique pet’s needs, helping you create a comforting environment and reliable routines for your furry companion.
Table of Contents
- Step 1: Choose The Ideal Smart Pet Monitoring Device
- Step 2: Install And Connect The Pet Camera System
- Step 3: Customize Device Features For Your Pet
- Step 4: Test Monitoring And Evaluate Camera Coverage
Quick Summary
| Key Point | Explanation |
|---|---|
| 1. Identify Your Pet’s Needs | Assess your pet’s specific behavioral patterns and anxiety triggers to choose the right monitoring features. |
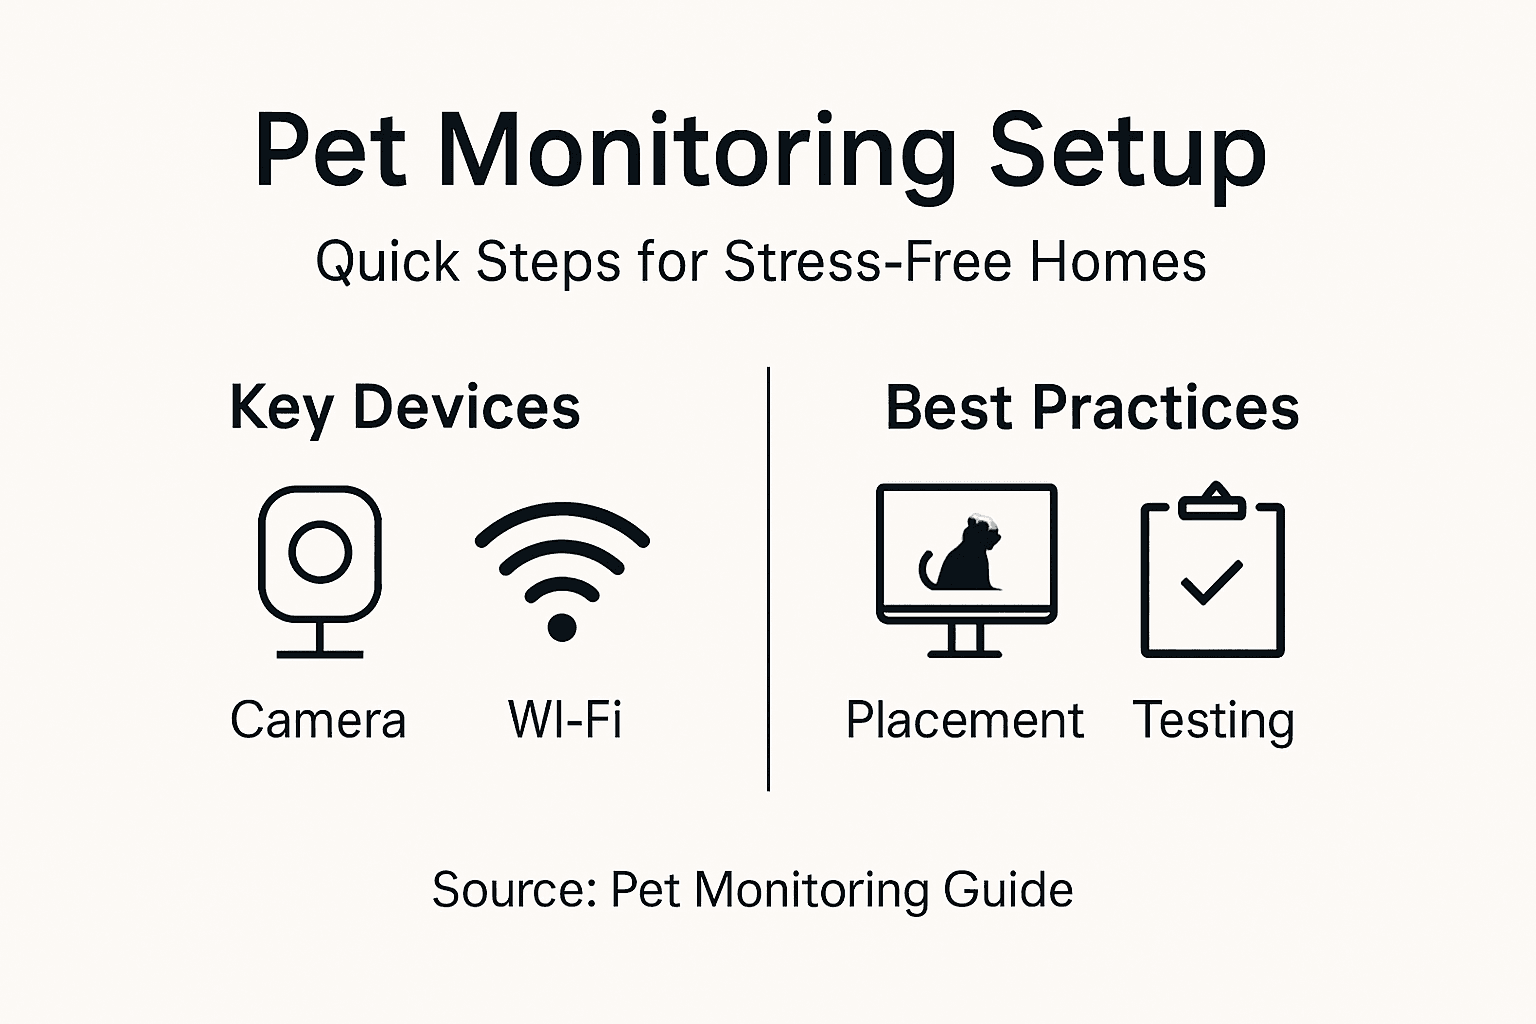
| 2. Optimal Camera Placement | Strategically place the camera for the best coverage and least interference, avoiding direct sunlight and blind spots. |
| 3. Customize Device Settings | Tailor motion detection, alert timing, and audio features based on your pet’s behaviors for effective monitoring. |
| 4. Test and Evaluate Coverage | Simulate a typical day to check connectivity, video quality, and coverage areas, making adjustments as needed. |
Step 1: Choose the Ideal Smart Pet Monitoring Device
Selecting the right smart pet monitoring device starts with understanding what your pet actually needs. Not every camera works the same way, and what works for a anxious puppy might not suit a curious cat. Let’s walk through how to find the device that fits your home and your pet’s behavior.
Begin by identifying your pet’s specific needs. Some pets need constant visual check-ins throughout the workday, while others benefit more from two-way audio so you can talk to them remotely. Consider whether your pet exhibits separation anxiety, destructive behavior when alone, or if you simply want environmental awareness of temperature and activity levels.
Key features to evaluate:
- Video quality and night vision for clear monitoring in any lighting condition
- Two-way audio to communicate with your pet and offer reassurance
- Motion detection and smart alerts to notify you of unusual activity
- Treat dispensing capability if you want to reward good behavior remotely
- Cloud storage or local recording for reviewing past footage
- Compatibility with your existing smart home system
Your home layout matters too. Determine where you’ll place the camera for optimal coverage. Corner placement typically gives the widest view, but you might need multiple devices for larger homes or multiple rooms where your pet spends time.
Compare device placement strategies based on home layout and pet location:
| Placement Approach | Best For | Coverage Strength |
|---|---|---|
| Single corner camera | Small apartments | Wide view, limited blind spots |
| Multi-room setup | Large homes | Max coverage in active areas |
| Elevated mounting | Energetic pets | Reduces obstructions |
| Near main pet zone | Routine-bound pets | Focuses on most-used space |
When researching options, look beyond basic video streaming. Understanding real-time monitoring capabilities and how devices integrate with your lifestyle helps ensure you’re investing in technology that actually reduces your stress. A pet camera should provide genuine peace of mind, not just another screen to check constantly.
Budget considerations are practical too. Premium devices offer more features, but mid-range options often cover essential needs at a fraction of the cost. Consider whether you need advanced features like 4K video or if standard HD resolution suffices for your purposes.
The best pet monitoring device matches your pet’s anxiety triggers and your monitoring habits, not just the highest price tag or most features.
A helpful approach is matching features to specific behaviors. If your dog panics when you leave, treat dispensing and two-way audio become priorities. If you mainly want to check on your cat’s daytime activity, motion alerts and basic video might be sufficient. Additionally, microchip systems serve different purposes than cameras, so understand that cameras provide real-time monitoring while identification systems handle lost pet scenarios.
Here’s a side-by-side look at which monitoring features are best matched to common pet behaviors:
| Pet Behavior | Recommended Feature | Why It Matters |
|---|---|---|
| Separation Anxiety | Two-way audio and treats | Offers real-time comfort and rewards |
| High daytime activity | Motion alerts | Keeps you updated on movement |
| Destructive habits | Video recording | Lets you review incidents |
| Night roaming | Night vision | Monitors in low light |
Take time comparing options before purchasing. Read reviews from other pet owners in your situation, and verify that the device actually delivers the features advertised. Many owners discover their first choice didn’t quite match their expectations after purchase.
Pro tip: Start with one strategically placed camera to observe your pet’s behavior patterns for a week, then decide if additional devices or features are actually necessary for your specific situation.
Step 2: Install and Connect the Pet Camera System
Now that you’ve selected your device, it’s time to set it up so it actually works. Installation is typically straightforward, but placement and connectivity matter more than you might think for reliable monitoring.
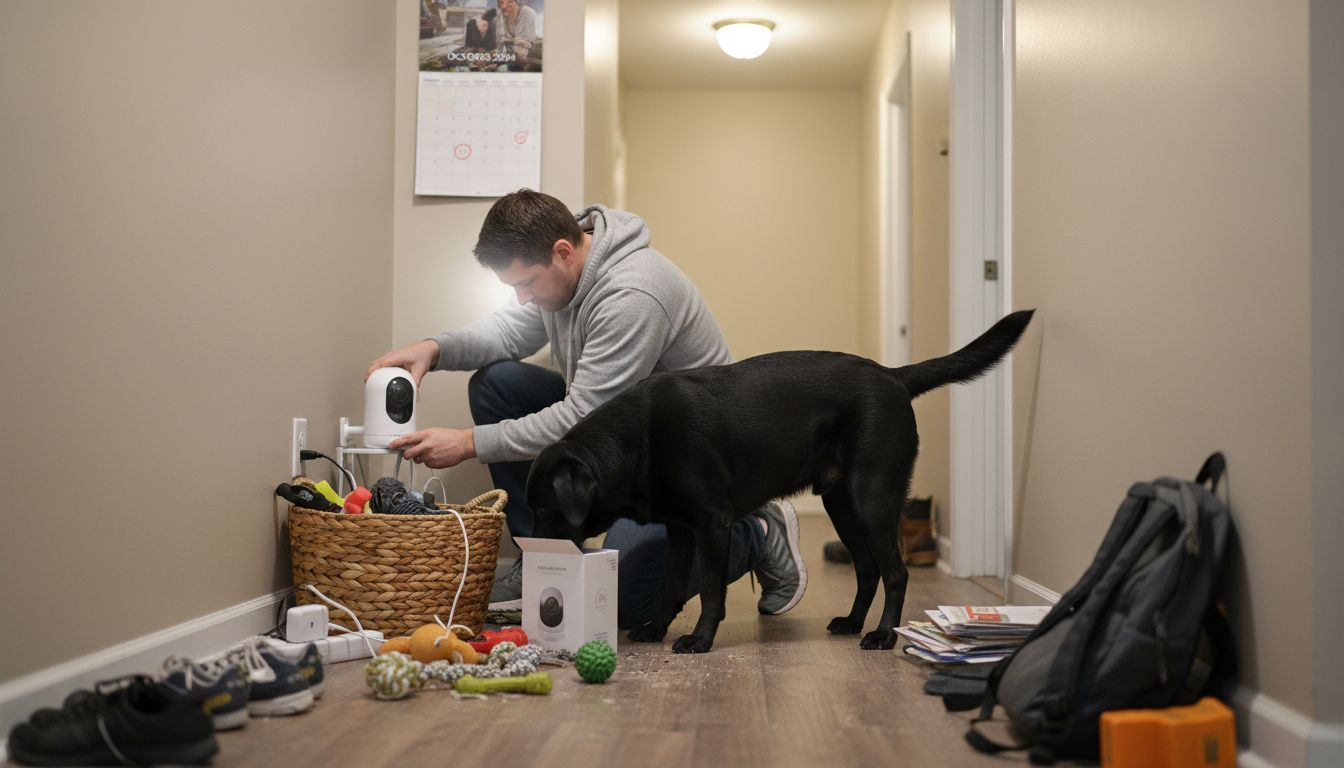
Start by unpacking your camera and checking all components are included. You’ll need the camera unit itself, a power cable or charger, and any mounting hardware. Read through the quick start guide to familiarize yourself with button locations and indicator lights before proceeding.
Next, decide on your camera’s location. Choose a spot that gives you clear sightlines to where your pet spends the most time. Avoid placing the camera directly facing windows, as bright sunlight creates glare and washes out the video. Elevated placement works better than ground level, giving you a better view of your pet’s activities.
Installation checklist:
- Mount the camera securely using provided hardware or a stable stand
- Ensure the lens has an unobstructed view of your pet’s main area
- Position it away from direct sunlight and bright light sources
- Keep the camera within reasonable distance of your Wi-Fi router
- Test the angle by viewing footage through the app before finalizing placement
Once physically positioned, connect your camera to power. Most modern pet cameras are wireless, but they still need electricity via USB cable or battery charging. Let the device boot up completely before moving to the next step.
WiFi connectivity is critical. Following optimal Wi-Fi setup procedures ensures stable streaming and reliable alerts. Open your camera’s companion app and follow the pairing process. You’ll typically scan a QR code or enter a pairing code, then select your home network and enter your WiFi password.
Test your connection immediately. Open the live view in your app from another room to confirm the camera streams properly. Check that audio works both directions if your camera has two-way communication. Verify that motion detection is functioning and receiving alerts.
A camera that streams perfectly from one room but drops connection from another indicates a Wi-Fi strength problem, not a defective device.
If you experience connectivity issues, move your router closer to the camera temporarily, or consider a Wi-Fi extender if your home has poor signal in certain areas. Most connection problems resolve once you optimize router placement.
After confirming everything works, adjust any settings like motion sensitivity, alert timing, or recording preferences. These fine-tuning adjustments make your monitoring experience less frustrating and more tailored to your pet’s behavior.
Pro tip: Test your camera’s Wi-Fi connection at the exact location where you plan permanent placement, not on a desk near the router, to avoid setup failures after you’ve finished installing.
Step 3: Customize Device Features for Your Pet
Your camera is now connected and streaming, but generic settings won’t solve your pet’s specific anxiety triggers. This step is where you personalize the device to actually reduce separation stress instead of just recording what happens.
Start by observing your pet’s behavior through the live feed for a few days. Does your dog panic immediately when you leave, or does anxiety build over time? Does your cat have specific hours when she’s most active? These patterns determine which features matter most and how to configure them.
Motion detection sensitivity is your first major adjustment. Set it too high and you’ll receive alerts every time your pet blinks. Set it too low and you’ll miss important events. Start at the medium setting, then adjust based on false alert frequency.
Key features to customize:
- Motion detection sensitivity to match your pet’s activity level
- Alert notification timing so you’re not bombarded with constant updates
- Recording schedules if you want continuous capture or motion-triggered only
- Two-way audio settings for when and how often you’ll interact
- Treat dispenser frequency if your camera has automated dispensing
- Night vision activation based on your pet’s sleep patterns
Alert notification frequency deserves careful tuning. Many pet owners disable alerts entirely after the first day because they’re constantly buzzing with notifications. Consider setting alerts only during work hours when your pet is actually alone, not throughout the night when natural sleep occurs.
If your camera includes customizable feeding or hydration monitoring, adjust these settings based on your pet’s established routine. Schedule treat dispensing during peak anxiety times, like right after you leave or at the hour when your pet typically gets destructive.
Two-way audio requires the most restraint. You can talk to your pet anytime, but overuse makes them dependent on your voice and can worsen anxiety when you’re not available. Use it strategically for reassurance, not constant communication.
The best camera configuration is one you’ve tested for at least a week, adjusted based on results, then left mostly alone rather than obsessively monitored.
Take time adjusting these settings without guilt. Many owners second-guess their choices constantly. Once you’ve found settings that reduce your anxiety and support your pet’s behavior, resist the urge to tinker constantly.
Pro tip: Start with motion alerts during work hours only for the first week, then disable them completely to establish your pet’s baseline behavior without constant notifications creating stress for you.
Step 4: Test Monitoring and Evaluate Camera Coverage
Before declaring your system complete, you need to verify it actually captures what matters. A camera with perfect Wi-Fi connectivity but poor coverage angles misses critical moments when your pet needs help.
Start your testing by simulating your typical work day. Leave your home and monitor the live feed from your phone or computer. Walk through different rooms and observe blind spots where your pet can hide from the camera’s view.
Check video quality at different times of day. Morning sunlight creates different lighting than afternoon, and evening testing reveals how night vision performs. Poor image quality often means you’ll adjust the camera position later, so document any issues now.
Testing checklist:
- Review live feed from multiple locations away from your home
- Test two-way audio clarity in noisy environments
- Monitor connection stability for at least 30 minutes
- Review recorded clips to verify motion detection captures movement
- Check night vision activation and image clarity
- Confirm mobile app notifications arrive reliably
For comprehensive testing protocols, follow standardized camera test specifications to verify your system meets functional requirements. This ensures you’re getting the performance the manufacturer promised.
Pay special attention to common problem areas. Dead zones in corners or behind furniture often go unnoticed until you review footage. A pet can squeeze into spaces you didn’t anticipate would matter.
Evaluate whether coverage meets your actual needs. If your dog spends most time on the kitchen tile but rarely enters the bedroom, camera placement should prioritize the kitchen. Realistic usage patterns matter more than theoretical perfect coverage of every inch.
Test alert responsiveness by moving quickly in front of the camera. Do alerts arrive within seconds or with noticeable delay? Does your pet’s movement trigger notifications reliably? Delays over 10 seconds suggest Wi-Fi connectivity issues.
A camera that captures perfect video but alerts you 2 minutes later defeats the purpose of remote monitoring and emergency response.
After testing, take detailed notes on what works and what needs adjustment. Did your pet react to the camera’s presence? Did sound quality suffice for communication? Did recording continuously drain battery or storage?
Reposition if needed. If coverage gaps exist or video quality disappoints, now is the time to adjust camera angle or location. Your testing phase reveals problems before you rely on the system for real separation scenarios.
Pro tip: Leave your camera recording while you’re away during a typical workday, then review the entire footage at night to identify blind spots and connectivity issues you might have missed during shorter testing sessions.
Discover Stress-Free Remote Pet Monitoring Solutions Today
Setting up a remote pet monitoring system that truly reduces your pet’s anxiety means choosing the right features like two-way audio, treat dispensing, and smart alerts that fit your pet’s unique behavior. If you want to confidently select, install, and customize your ideal pet camera, our Health & Wellness Tech section offers detailed reviews and insights to guide your decision.
Don’t wait until stress builds during separation—explore our comprehensive Guides & Comparisons to find monitoring devices that provide real peace of mind. Visit ModernPetTech now and take the next step toward a calmer and safer home for you and your pet.
Frequently Asked Questions
How do I choose the right pet monitoring device for my needs?
To select the ideal pet monitoring device, start by assessing your pet’s specific needs and behavior. Look for features like video quality, two-way audio, and motion detection to match those needs. Compare different devices based on their capabilities, and observe your pet’s behavior for a week to help solidify your choice.
What are the best placement strategies for my pet camera?
Choose a location for your pet camera that provides a clear view of the areas where your pet spends the most time. For small spaces, a single corner camera might suffice, while larger homes may benefit from multiple devices placed in key areas. Test different angles to ensure optimal coverage, identifying blind spots or low-light issues.
How can I customize my pet monitoring device to address my pet’s anxiety?
Start by observing your pet’s behavior and identifying triggers that lead to anxiety. Adjust features like motion detection sensitivity, alert notifications, and treat dispensing settings to cater to your pet’s specific needs. Tailor these settings after testing them for at least a week to find the best fit for your pet and your monitoring style.
What testing steps should I follow after setting up my pet camera?
Conduct thorough testing by simulating your typical daily routine to ensure the camera captures key activities. Review the live feed from different locations around your home and check the video quality in varying lighting conditions. Monitor alert responses and verify that the camera effectively covers your pet’s primary areas of activity.
How often should I adjust the settings on my pet monitoring device?
It’s advisable to leave your device settings mostly unchanged after the initial adjustment phase unless circumstances change. Periodically evaluate your pet’s behavior and the effectiveness of the device’s features, making adjustments only when necessary to avoid overhauling an already effective setup. This approach helps maintain a stable environment for your pet.
Recommended
- Pet Monitoring Workflow for Effective Remote Interaction
- Pet Monitoring Basics: Reducing Anxiety with Tech
- Why Choose Wireless Pet Cameras for Home Monitoring
- Why Smart Home Integration Reduces Pet Anxiety