Every pet lover knows the worry that comes with leaving a furry friend alone at home, especially when your schedule keeps you away for long hours. Staying connected with your pet helps ease anxiety and adds a layer of peace for your entire household. With the right setup, a smart pet camera lets you check in anytime, offering real-time monitoring and alerts that strengthen both pet safety and home security.
Table of Contents
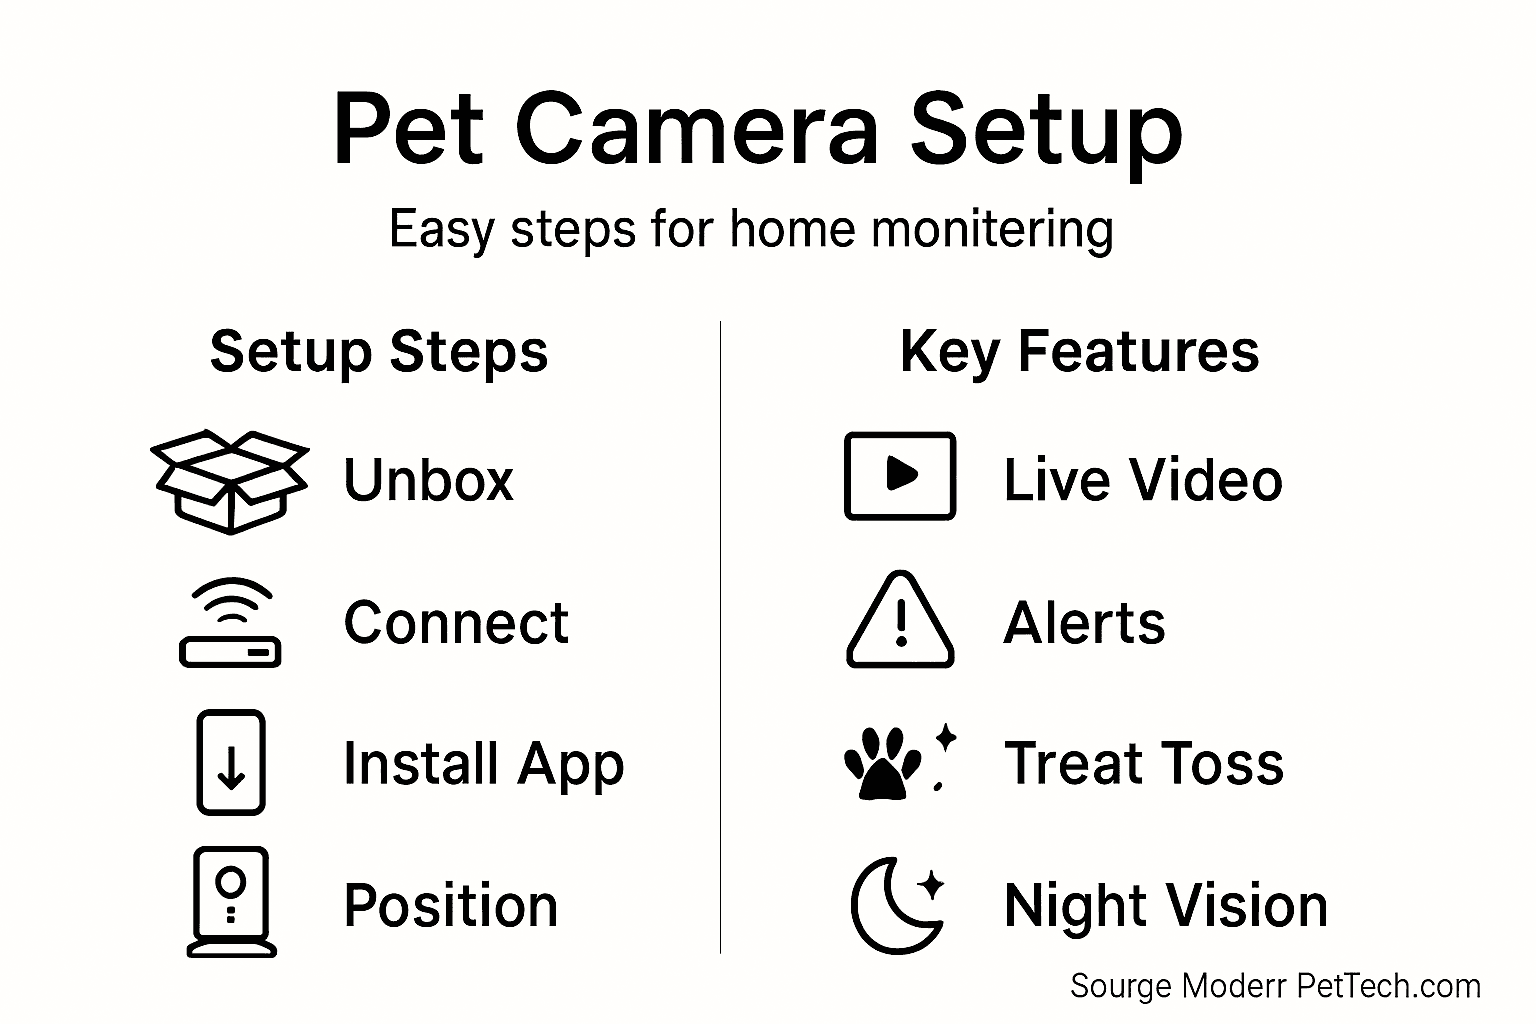
- Step 1: Unbox and Prepare Your Pet Camera
- Step 2: Connect the Camera to Power and Wi-Fi
- Step 3: Install and Configure the Mobile App
- Step 4: Position and Secure the Camera in Your Home
- Step 5: Test Camera Features and Alerts
Quick Summary
| Key Point | Explanation |
|---|---|
| 1. Unbox and Inspect Thoroughly | Before setup, ensure all components are present and check for any damage during shipping. |
| 2. Establish Strong WiFi Connection | Position the camera where WiFi signal is strong, considering a range extender if necessary. |
| 3. Utilize Mobile App Features | Download the app, create an account, and explore features to customize your monitoring setup. |
| 4. Securely Position the Camera | Install the camera at a height of 4-6 feet to capture a wide view of your pet’s activities. |
| 5. Regularly Test Camera Functions | Conduct weekly checks on video clarity and alert settings to ensure your camera is functional. |
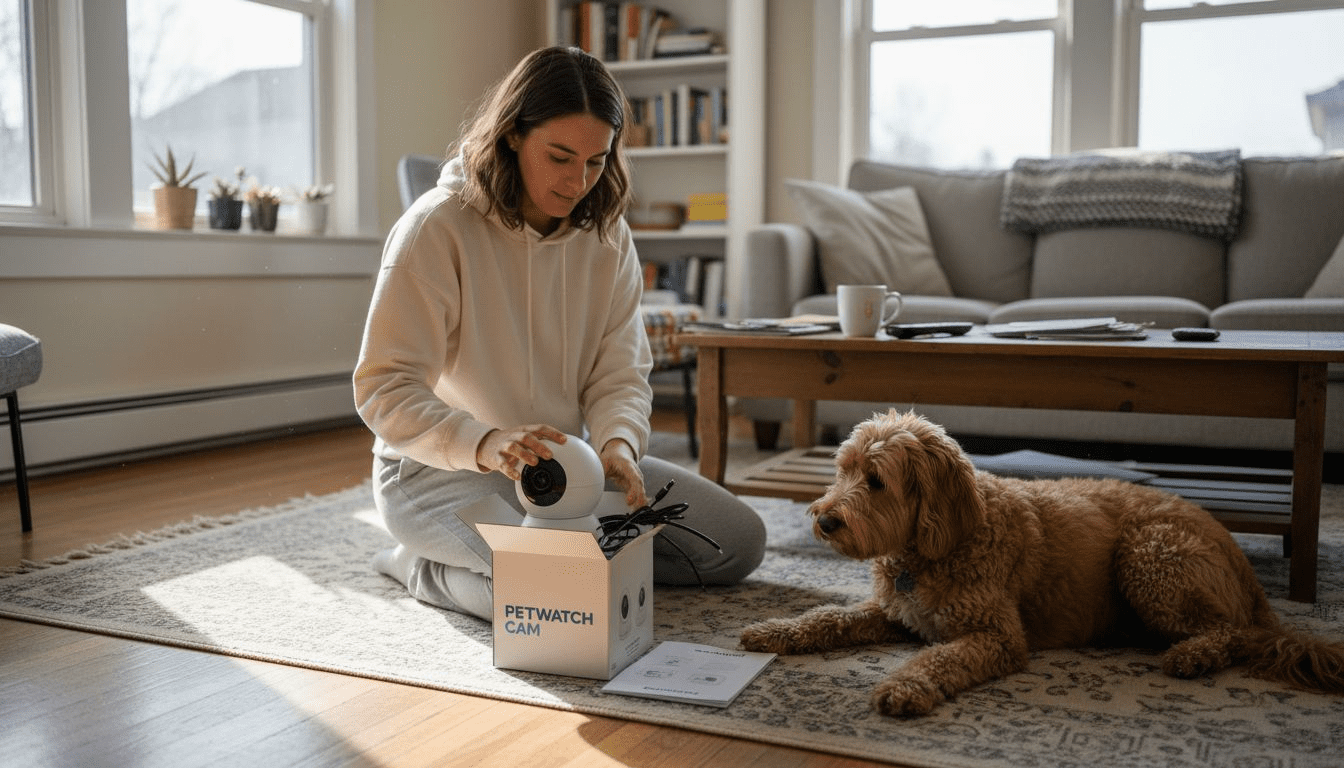
Step 1: Unbox and Prepare Your Pet Camera
When you receive your new pet camera, the first crucial step is carefully unboxing and preparing the device for setup. Proper initial preparation ensures smooth installation and optimal performance. Before diving into the technical details, gather all included components and review the instruction manual thoroughly.
Start by unpacking the camera and checking that all components are present: the camera itself, mounting hardware, power adapter, and any additional accessories. Pet safety preparation involves understanding the device’s capabilities and placement strategy. Inspect the camera for any shipping damage and verify that all mounting brackets, cables, and connectors are intact. Position the camera near a power outlet with a clear view of the area you want to monitor, keeping in mind your pet’s typical movement patterns.
Ensure you have a stable WiFi connection where you plan to install the camera. Most modern pet cameras require a strong internet signal to transmit video and enable remote monitoring features. Check the signal strength in your intended installation location and consider using a WiFi range extender if needed.
Pro Tip: Before final installation, test the camera’s positioning and angle by temporarily placing it in the desired location to confirm optimal coverage of your pet’s living space.
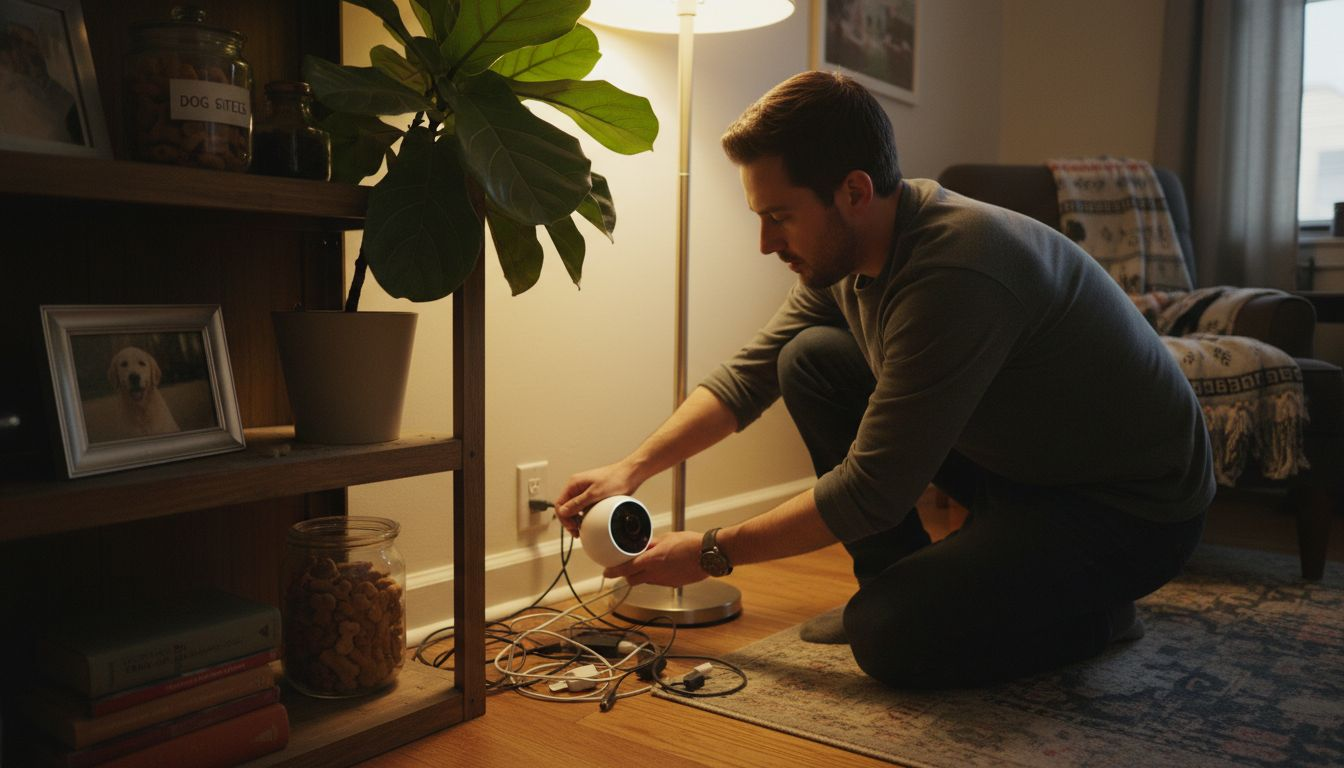
Step 2: Connect the Camera to Power and Wi-Fi
Connecting your pet camera to power and WiFi is a critical step that ensures continuous monitoring of your furry friend. This process transforms your device from a simple camera into a smart home monitoring system that keeps you connected to your pet no matter where you are.
First, locate a stable power outlet near your intended camera placement. Plug in the provided power adapter and ensure the connection is secure. When setting up the wireless connection, most pet cameras require a reliable network configuration on the 2.4 GHz frequency band. Open the camera’s companion smartphone app and follow the step-by-step wireless setup instructions. These typically involve selecting your home WiFi network, entering the password, and allowing the app to establish a connection between the camera and your home network.
Make sure your camera is within good range of your WiFi router to maintain a strong signal. If you experience connectivity issues, consider repositioning the camera or using a WiFi range extender to improve network coverage. Some cameras also offer backup cellular connectivity options for additional reliability.
Pro Tip: Create a dedicated guest network on your router for smart home devices to enhance overall home network security and prevent potential vulnerabilities.
Step 3: Install and Configure the Mobile App
Installing and configuring the mobile app is your gateway to seamless pet monitoring, transforming your smartphone into a powerful remote viewing and interaction platform. This crucial step bridges the connection between your pet camera and your digital world, allowing you to stay connected with your furry friend from anywhere.
Download the manufacturer’s official mobile app from the Apple App Store or Google Play Store. During installation, create a unique account that will serve as your primary access point for the camera’s features. After creating your account, configure device connectivity by following the app’s step-by-step setup wizard. This typically involves scanning a QR code on the camera, entering your WiFi credentials, and granting necessary permissions for notifications and live streaming.
Take time to explore the app’s settings and customize your experience. Most pet camera apps offer advanced features like motion detection alerts, two-way audio communication, treat dispensing controls, and recording options. Adjust sensitivity levels for motion detection, set up specific activity zones to monitor, and configure notification preferences to ensure you receive timely updates about your pet’s activities.
Pro Tip: Enable two-factor authentication in your app account to add an extra layer of security and protect your pet monitoring system from unauthorized access.
Here’s a quick overview of common pet camera features and their benefits:
| Feature | What It Does | Benefit to Pet Owners |
|---|---|---|
| Motion Detection | Senses and alerts movement | Get instant pet activity alerts |
| Two-Way Audio | Allows voice interaction | Calm or train pets remotely |
| Treat Dispensing | Releases treats on command | Reward pets, reduce anxiety |
| Night Vision | Captures video in the dark | Monitor pets at night |
| Activity Zones | Set specific watch areas | Minimize false alert triggers |
Step 4: Position and Secure the Camera in Your Home
Positioning your pet camera correctly is crucial for maximizing monitoring effectiveness and ensuring comprehensive coverage of your pet’s living space. Your goal is to create an unobstructed view that captures your pet’s key activity areas while maintaining a secure and stable setup.
Choose a strategic location that provides a wide field of view, typically mounted at a height of 4 to 6 feet above the floor. Secure camera placement involves selecting spots near walls or in corners where your camera can observe multiple areas without being easily bumped or knocked over. Avoid direct sunlight and reflective surfaces that might interfere with video quality. Consider mounting the camera on a sturdy wall bracket or shelf, ensuring it is out of your pet’s direct reach but still capturing their primary living and play zones.
Pay special attention to cable management and overall equipment security. Ensure power cables are safely routed and secured to prevent potential chewing or tripping hazards. If your camera comes with mounting hardware, use all provided screws and follow the manufacturer’s installation guidelines precisely. Some cameras offer additional mounting accessories like adjustable stands or magnetic mounts that can provide extra flexibility in positioning.
Pro Tip: Test your camera’s view by taking temporary smartphone photos from the intended mounting location to confirm you have the ideal angle and coverage before permanently installing the device.
Step 5: Test Camera Features and Alerts
Testing your pet camera’s features and alerts is a critical step in ensuring reliable home monitoring and peace of mind. This process helps you verify that all system functions work correctly and provide the level of pet surveillance you expect.
Begin by conducting a comprehensive functionality test, starting with the live video feed. Verify camera performance by checking video clarity, resolution, and viewing angles from your smartphone app. Activate motion detection settings and walk through the monitored area to confirm that alerts are generated promptly and accurately. Test two way audio communication by speaking through the app and listening for sound clarity, ensuring you can effectively interact with your pet or assess any unusual situations.
Explore advanced features like treat dispensing, night vision, and recording capabilities. Set up different alert sensitivity levels to match your home environment and pet behavior. Some cameras offer zone specific monitoring, allowing you to customize which areas trigger notifications. Check that notification settings on your smartphone are configured correctly, including sound alerts, vibration, and visual indicators to ensure you never miss an important update about your pet’s activities.
Pro Tip: Schedule a weekly two minute system check to confirm all camera features remain functional and update firmware whenever prompted by the manufacturer.
Use this table to troubleshoot common pet camera setup obstacles:
| Problem | Typical Cause | Quick Solution |
|---|---|---|
| Camera not connecting to WiFi | Weak signal or wrong band | Move router or check frequency |
| Video feed is blurry | Poor camera placement | Adjust angle and clean lens |
| Missing notifications | App permissions not enabled | Check app settings on phone |
| Camera not dispensing treats | Jammed or empty dispenser | Refill and clear dispenser |
Take Your Pet Monitoring to the Next Level with Expert Guidance
Setting up a pet camera may seem straightforward, but challenges like WiFi connectivity, optimal positioning, and mastering smart app features can feel overwhelming. This article highlighted key pain points including ensuring reliable power and network connections, adjusting camera angles for full coverage, and activating features such as two-way audio and treat dispensing that truly enhance remote pet care. If you want to confidently overcome these hurdles and create a secure, interactive environment for your furry friend you need trusted insights and detailed comparisons.
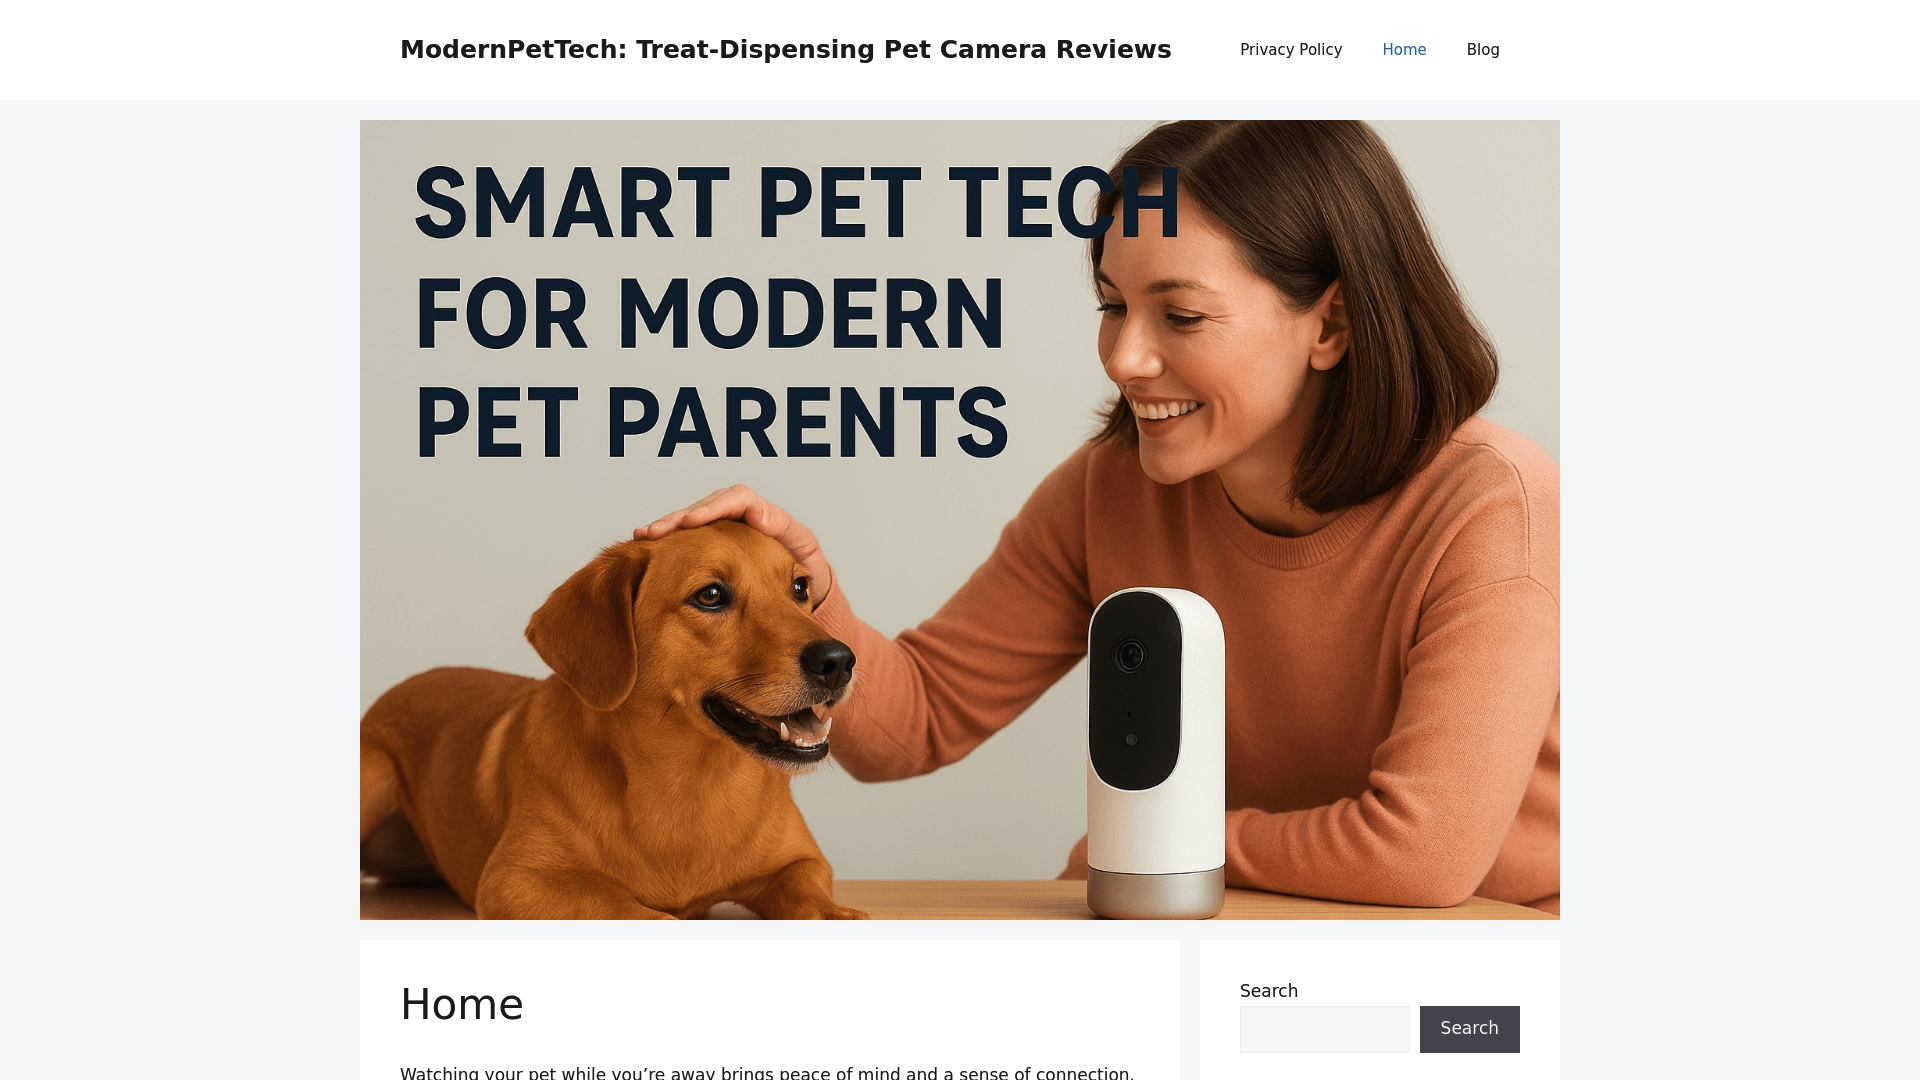
Discover comprehensive reviews and step-by-step guides at ModernPetTech, your go-to source for the latest in Pet Cameras and Guides & Comparisons. Act now to find the perfect smart pet camera tailored to your home and pet’s unique needs. Explore practical tips and up-to-date product analyses that will help you enjoy peace of mind while building a stronger bond with your pet from anywhere.
Frequently Asked Questions
How can I properly unbox and prepare my pet camera for setup?
To properly unbox and prepare your pet camera, carefully remove it from the packaging and check that all components are present, including the camera, power adapter, and mounting hardware. Review the instruction manual and inspect the camera for any damage before plugging it in near a power outlet.
What steps should I follow to connect my pet camera to WiFi?
Connect your pet camera to WiFi by plugging it into a power outlet and opening the camera’s companion app on your smartphone. Follow the on-screen setup instructions, which typically require selecting your home WiFi network and entering the password to establish a connection.
How do I install and configure the mobile app for my pet camera?
To install and configure the mobile app, download it from the official app store, and create a unique account. Follow the setup wizard in the app to connect your camera, scan any necessary QR codes, and customize settings for notifications and monitoring preferences.
What is the best way to position and secure my pet camera at home?
Position your pet camera at a height of 4 to 6 feet for optimal coverage of your pet’s activity areas. Ensure it is mounted securely and avoid placing it in direct sunlight or against reflective surfaces that could affect video quality.
How can I test my pet camera features after setup?
Test your pet camera features by checking the live video feed and ensuring that motion detection alerts function correctly. Activate two-way audio and other advanced options, like treat dispensing, to confirm they work properly and adjust sensitivity settings as needed.
What should I do if my pet camera is not connecting to WiFi?
If your pet camera is not connecting to WiFi, verify that it is within good range of your router and check the frequency band settings. Consider repositioning the camera or your router to improve signal strength and ensure that you are entering the correct WiFi password.
Recommended
- Pet Camera Setup Basics: Enhancing Remote Pet Care
- Pet Camera Setup Explained: Boosting Safety and Connection
- 7 Pet Monitoring Best Practices for Tech-Savvy Owners
- Pet Security Camera Installation Guide for Safe Monitoring
- 7 Common Dog Feeding Mistakes and How to Fix Them
3 thoughts on “How to Set Up Pet Camera for Easy Home Monitoring”